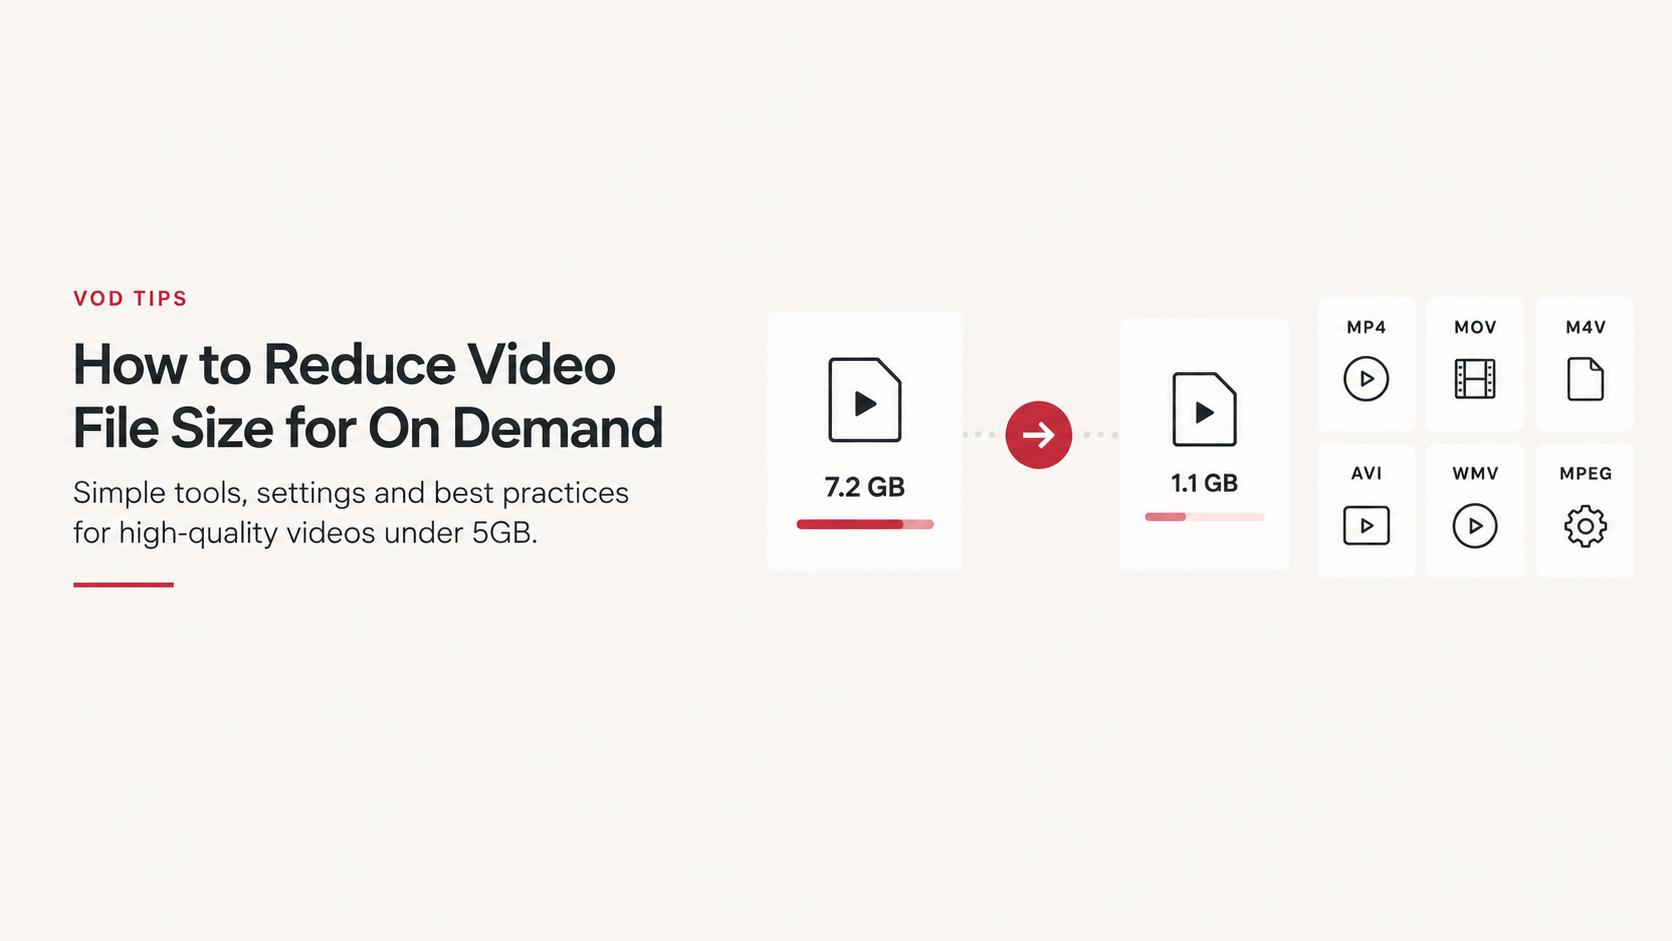
When uploading videos to On Demand by IPSTUDIO™, each individual video file must be 5GB or smaller.
If your video exceeds 5GB, don’t worry, you usually don’t need to re-record it. Reducing the resolution, bitrate, or using a more efficient video codec can significantly reduce the file size while maintaining excellent quality for streaming.
This guide covers our recommended video settings, supported file formats, and several ways to reduce large video files before uploading.
Recommended Video Settings
For most fitness and on-demand video content, we recommend recording and exporting at:
- Resolution: 1080p (1920 × 1080)
- Frame rate: 30 FPS
- Video codec: H.264
- Audio codec: AAC
- Preferred format: MP4
- Maximum individual file size: 5GB
1080p provides excellent quality for streaming without the much larger files created by 4K recording.
If your camera or phone is currently recording in 4K or 60 FPS, changing the recording settings to 1080p at 30 FPS can substantially reduce the size of future recordings.
Supported Video Formats
On Demand by IPSTUDIO™ accepts most major standard video formats, including:
- MP4
- MOV / QuickTime
- M4V
- AVI
- WMV
- MPG / MPEG
Other standard video formats and codecs may also be accepted. For the most consistent results, however, we recommend uploading an MP4 or MOV file encoded using H.264 video and AAC audio.
H.264 is particularly well suited to web video because it provides a strong balance between visual quality, file size, compatibility, and processing time.
Why Is My Video File So Large?
Video file size is primarily determined by four things:
Resolution: A 4K video contains approximately four times as many pixels as a 1080p video, which can result in substantially larger files.
Frame rate: Recording at 60 FPS captures twice as many frames per second as 30 FPS. For most studio classes and fitness content, 30 FPS provides smooth playback without the additional file size of 60 FPS.
Bitrate: Bitrate determines how much video data is stored for each second of footage. Higher bitrates generally mean higher quality—but also larger files.
Codec: The codec determines how the video is compressed. Modern codecs such as H.264 and H.265/HEVC can dramatically reduce file size compared with lightly compressed or production-quality formats.
Professional recording formats such as Apple ProRes can create particularly large files and generally should be converted to a streaming-friendly format before uploading.
Option 1: Reduce File Size with HandBrake
HandBrake is a free, open-source video compression tool available for Mac and Windows. It is our recommended option when you need more control over video compression.
Recommended HandBrake Settings
- Open your video in HandBrake.
- Select the Fast 1080p30 preset as a starting point.
- Set the format to MP4.
- Set the resolution to 1920 × 1080.
- Select H.264 (x264) as the video encoder.
- Use 30 FPS or match the original frame rate if it is already 30 FPS or lower.
- Use a constant frame rate.
- Keep the audio encoded as AAC.
- Choose where you want the new file saved.
- Select Start Encode.
Once processing is complete, check the new file size before uploading it to On Demand by IPSTUDIO™.
Need an Even Smaller File?
If the resulting file is still larger than 5GB, you have several options.
First, increase HandBrake’s RF (Constant Quality) value slightly. A higher RF value creates a smaller file, although increasing it too far will reduce visual quality.
You can also try H.265/HEVC, which can provide comparable visual quality at a smaller file size than H.264. H.265 generally takes longer to encode, however, and H.264 remains our preferred option when broad compatibility is the priority.
Another option is reducing the video’s bitrate. For typical 1080p streaming video, you generally do not need the extremely high bitrates generated by cameras or production-quality exports.
Option 2: Reduce File Size with QuickTime on Mac
Mac users can also use QuickTime Player for a simple conversion.
- Open the video in QuickTime Player.
- Select File → Export As → 1080p.
- If available, choose either:
- Greater Compatibility for H.264, or
- Smaller File Size for HEVC/H.265.
- Choose a destination and save the new file.
- Check the resulting file size before uploading.
QuickTime exports video as a .MOV file rather than an MP4, which is fine for upload.
For most users, exporting a large 4K recording as 1080p is one of the easiest ways to dramatically reduce its size.
Option 3: Re-Export from Your Video Editor
If the video was edited in software such as Adobe Premiere Pro, Final Cut Pro, DaVinci Resolve, or iMovie, it is generally better to create a smaller export directly from the original project rather than compressing an already exported video.
Look for settings similar to:
Format: MP4
Codec: H.264
Resolution: 1920 × 1080
Frame rate: 30 FPS or source frame rate
Audio: AAC
Scan: Progressive
If your software offers variable bitrate (VBR), it can help allocate more data to complex scenes and less data to simple scenes, improving compression efficiency.
Should I Upload 4K Video?
For On Demand by IPSTUDIO™ content, 1080p is recommended.
Unless you have a specific production requirement for 4K, recording directly in 1080p at 30 FPS simplifies your publishing workflow and helps prevent files from exceeding the 5GB upload limit.
Tips for Keeping Future Videos Under 5GB
The easiest way to deal with oversized files is to prevent them from becoming oversized in the first place.
Before recording your next class:
- Set your camera or phone to 1080p instead of 4K.
- Use 30 FPS instead of 60 FPS unless higher frame rates are specifically needed.
- Avoid recording in ProRes or other professional high-bitrate formats unless you plan to edit and compress the footage afterward.
- Export finished videos using H.264 for a good balance of quality and file size.
- Keep audio encoded as AAC.
- Avoid repeatedly exporting and recompressing the same file, as each lossy re-encode can reduce quality.
- Keep your original high-quality recording separately if you want to retain a master copy.
What If My Video Is Still Over 5GB?
If your finished video remains over the 5GB individual file limit, try the following in order:
- Export or convert the video to 1080p.
- Convert the video to H.264 MP4.
- Reduce the bitrate or increase the HandBrake RF value slightly.
- Use H.265/HEVC if additional compression is necessary.
- For unusually long recordings, consider dividing the content into multiple videos where appropriate.
The goal isn’t to create the smallest possible file. It’s to find a good balance between video quality, upload size, processing time, and streaming performance.
Our Recommended Setup
For the majority of studios using On Demand by IPSTUDIO™, we recommend keeping things simple:
Record: 1080p / 30 FPS
Export: MP4 / H.264 / AAC
Maximum file size: 5GB per video
These settings provide high-quality video while keeping files manageable for uploading, processing, and streaming through On Demand by IPSTUDIO™.